Home » Troubleshooting Guide: Understanding Why Your Water Heater Isn’t Hot

Troubleshooting Guide: Understanding Why Your Water Heater Isn’t Hot

by Fused House
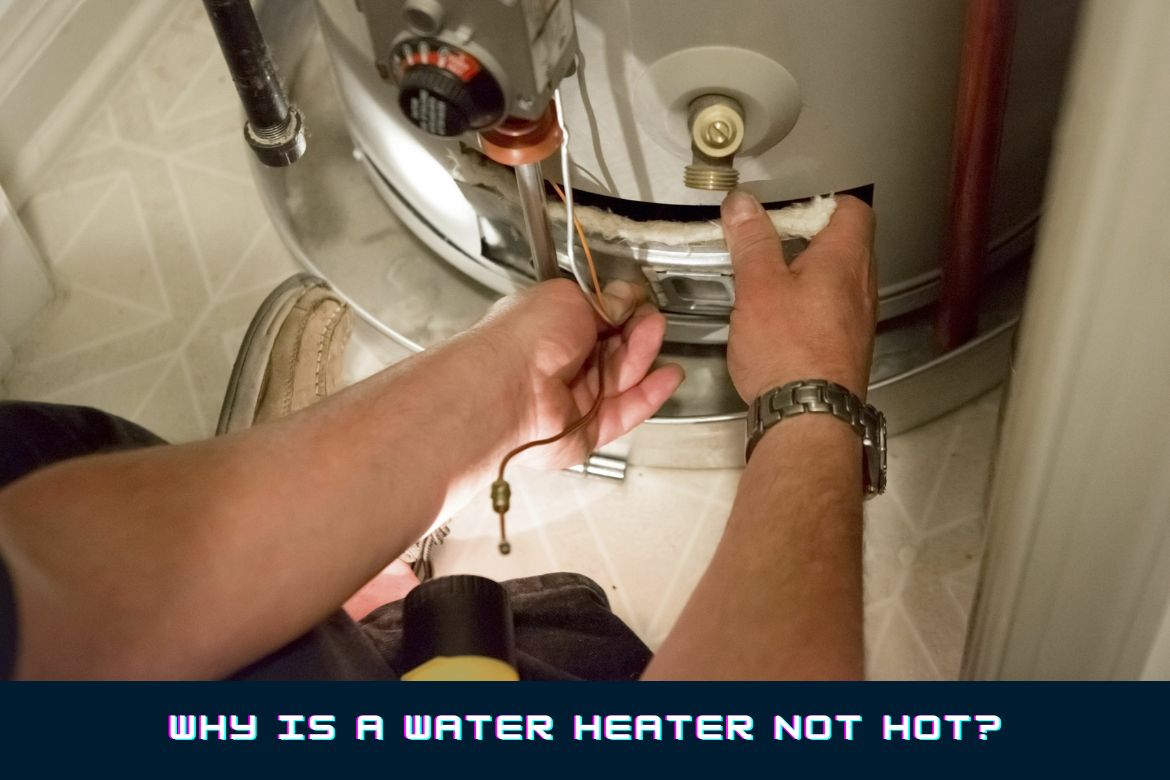
A man shines a flashlight on a hot water heater, examining why it’s not hot.

It’s a chilly morning, and the prospect of a warm, invigorating shower is the only thing coaxing you out of your cosy bed. You turn on the faucet, eagerly anticipating the soothing cascade of hot water, but to your dismay, it remains stubbornly cold. Few things are more frustrating than a malfunctioning water heater, especially when the allure of a hot shower is dashed by the icy reality of a tepid stream.

This goes to show that a functional water heater is not just a modern convenience; it’s an essential part of our daily lives. From soothing showers to sanitising dishes, we rely on hot water for comfort and hygiene. When our trusty water heater falters, it disrupts the rhythm of our routines, leaving us in a shiver-inducing predicament.

In fact, according to the Department of Energy, a household’s water heater accounts for about 18% of its total energy use. That’s a significant chunk of your utility bill dedicated to ensuring your showers are warm and your dishes are sanitized. This underscores the importance of promptly addressing any issues that may compromise its functionality.

Possible Reasons for a Cold-Water Heater - Pilot Light

Let’s wade into the first potential culprit: pilot light issues. If you find yourself asking, “Why is my water heater not hot?” the pilot light might hold the answer.

1. Explanation of the Pilot Light's Role

Think of the pilot light as the unsung hero of your water heater. It’s a small, continuously burning flame that ignites the main burner when hot water is needed. Essentially, it’s the spark that sets the fiery chain reaction in motion, ensuring your showers are warm and your faucets dispense comfortably heated water.

2. Common Problems Leading to a Pilot Light Outage

Unfortunately, even the most dependable pilot lights can be finicky. Various issues may cause it to flicker out, leaving you with nothing but cold water. Common culprits include dirt or debris clogging the pilot orifice, a malfunctioning thermocouple, or gas supply issues.

Imagine the frustration: you turn on the tap, eagerly awaiting the warm embrace of water, only to be met with an icy stream. This could very well be a sign that your pilot light has gone on an unscheduled hiatus.

3. Step-by-Step Guide to Relighting the Pilot Light

The good news is that relighting the pilot light is often a manageable task, and you don’t need to be a plumbing maestro to do it. Here’s a simple guide to reigniting that vital flame.

Step 1: Locate the Pilot Light

In most water heaters, you can find the pilot light behind a small access panel and board. It’s usually found close to the tank’s bottom. Once you’ve uncovered the pilot light, locate the gas control valve. Switch it to the “Pilot” setting.

Step 2: Press and Hold the Reset Button

Simultaneously, press and hold the reset button near the control valve. Gas can now flow to the pilot thanks to this step. Using a long lighter or match, carefully ignite the pilot light. Continue holding the reset button for about a minute.

Step 3: Switch the Gas Control Valve to on

After a minute, release the reset button and turn the gas control valve back to the “on” position. Your pilot light should now be burning steadily. If, after following these steps, your pilot light stubbornly refuses to stay lit, it may be time to call in a professional to diagnose and resolve the issue.

Don’t let a finicky pilot light leave you wondering, “Why is my water heater not hot?” tackle the problem head-on and restore warmth to your daily routine.

Thermostat Malfunctions

When your water heater decides to play it cool, the thermostat might be the silent saboteur. A properly functioning thermostat is the maestro that orchestrates the temperature of your water, ensuring it hits that sweet spot between comfortably warm and scalding. But what happens when this conductor goes off-key?

1. Importance of a Properly Functioning Thermostat

The thermostat is your water heater’s control centre, dictating when to fire up the burners and when to take a break. Without a well-functioning thermostat, you risk an erratic supply of hot water.

2. Signs of a Faulty Thermostat

How do you know if your thermostat is the culprit? Keep an eye out for signs like inconsistent water temperatures, water that’s too hot or not hot enough, or even a complete lack of hot water. If your once-reliable water heater has become a temperature rollercoaster, the thermostat may be due for a check-up.

3. DIY Thermostat Troubleshooting and Calibration

Before reaching for the phone to call in the cavalry, consider a bit of DIY therapy for your thermostat. Check if it’s set to the desired temperature, ensuring it hasn’t accidentally been nudged into lukewarm territory. If that doesn’t do the trick, you might need to recalibrate the thermostat.

For electric water heaters, locate the thermostat panel, usually positioned behind an access panel. Adjust the temperature setting using a screwdriver. For gas heaters, the thermostat is often located on the gas valve. Refer to your user manual for specific instructions on calibration.

If, despite your best efforts, the thermostat remains uncooperative, it might be time to enlist the help of a professional to diagnose and address the issue.

Sediment Buildup in the Tank

Now let’s go into the murky world of sediment buildup—a silent saboteur lurking within your water heater, ready to compromise its efficiency.

1. How Sediment Affects Water Heater Efficiency

Over time, minerals and debris present in water can settle at the bottom of your heater’s tank. This sediment layer acts as insulation, making it harder for the heating element to do its job efficiently. The result? A water heater that’s working overtime for lacklustre results.

2. Steps to Flush the Tank and Remove Sediment

Fear not, as battling sediment buildup is a DIY-friendly task. Begin by turning off the power supply (for electric heaters) or shutting off the gas (for gas heaters). Connect a hose to the drain valve at the bottom of the tank and direct the other end to a floor drain or outside. Open the valve and let the water flush out, carrying sediment with it.

3. Preventive Measures to Reduce Sediment Buildup

To keep sediment at bay, consider installing a water softener or a sediment filter in your incoming water line. This simple addition can go a long way in preserving your water heater’s efficiency and ensuring hot water is consistently at your beck and call.

Electrical Issues

Faulty wiring, a malfunctioning heating element, and a problematic thermostat can all contribute to electrical woes in your water heater. These issues can disrupt the flow of power, leaving you with lukewarm or ice-cold water.

1. Inspecting and Troubleshooting Electrical Components

For the intrepid DIYer, start by visually inspecting the wiring, ensuring there are no obvious signs of wear or damage. Test the heating element for continuity using a multimeter. If you’re not comfortable navigating the electrical intricacies, it’s wise to call in a professional to avoid potential hazards.

2. When to Call a Professional Electrician

When electrical issues rear their heads, it’s often a job best left to the experts. If you’re experiencing repeated problems or suspect a deeper electrical issue, reaching out to a qualified electrician ensures a safe and effective resolution.

3. Inspecting the Heating Element

As we continue our quest to understand and fix a water heater that’s lost its warmth, our spotlight turns to the unsung hero responsible for heating the water—the heating element. Understanding its role, identifying signs of trouble, and knowing how to address issues is pivotal when deciphering the enigma of “How to fix a water heater that is not heating.”

4. Role of the Heating Element in Heating Water

The heating element is the workhorse of your water heater, akin to the beating heart that pumps warmth into your showers and taps. For electric water heaters, these elements, typically made of durable materials like copper or stainless steel, convert electrical energy into heat, raising the water temperature to your desired level.

5. Signs of a Faulty Heating Element

When your water heater starts to lose its heating mojo, the heating element might be throwing a wrench into the works. Look out for signs such as tepid water, longer-than-usual heating times, or even complete water temperature inconsistency. If your once-toasty showers have become a thing of the past, it’s time to consider the health of your heating element.

6. Step-by-Step Guide to Testing and Replacing a Heating Element

Step 1: Turn Off the Power Supply

For electric water heaters, safety comes first. Turn off the power supply at the circuit breaker to ensure you’re working in a hazard-free environment. The heating element is usually housed behind access panels on the side of the water heater. For electric heaters, there are typically two elements: one in the upper part and one in the lower part of the tank.

Step 2: Test for Continuity

Use a multimeter to test the continuity of the heating element. A reading of zero or near-zero ohms indicates continuity, suggesting the element is functional. A higher reading signals a faulty element that needs replacing.

Step 3: Replace the Faulty Element

If the test reveals a problematic heating element, it’s time to swap it out. Disconnect the wiring, use a heating element wrench to remove the old one, and install the new element in its place. Reconnect the wiring securely.

Step 4: Turn the Power Back On

Once the new heating element is securely and correctly in place, restore power to the water heater. Monitor its performance to ensure the issue is resolved.

While testing and replacing a heating element is within the realm of a savvy DIYer, if you’re uncertain or uncomfortable with these procedures, seeking the assistance of a professional is a prudent choice.

Final Words

So, it’s just fair to say that a cold-water heater need not plunge you into despair. By understanding and addressing common issues such as pilot light glitches, thermostat malfunctions, sediment buildup, and faulty heating elements, you can reclaim the warmth in your daily routines. Whether through DIY troubleshooting or seeking professional assistance, a hot water revival is within reach. Armed with insights into “how to fix a water heater that is not heating,” you can bid farewell to chilly surprises and welcome back the comforting embrace of reliably warm water!

You may also like